It is such a magical feeling when we enter an eye-catching website, and sometimes we even end up buying something from that website that we didn’t even plan! It is evident that a website’s look matters highly, especially if it’s an e-commerce website. Let’s talk specifically about Shopify.
Now, there can be a hundred ways to enhance the looks of a Shopify store, but today, we’re discussing one of the most impactful ones – banner video. We’ll explain how you can add video to shopify video banner section of your Shopify store without any fuss. We bet it will certainly fascinate your visitors, and this will lead to greater conversions.
Now, no matter if you’re experienced with Shopify or new to this amazing platform, it’s entirely possible to sell your products or publish your brand’s story by placing a video and being creative with that. Without waiting, let’s check out how to add a video banner to your Shopify store within minutes!
Key Takeaway :
To add video to the Shopify video banner section, first, choose a high-quality video that aligns with your brand and message. Then, use the theme editor to upload or embed the video, adjust playback settings, customize display settings, ensure mobile responsiveness, and test thoroughly before making it live. This process can enhance your Shopify store’s visual appeal and create a lasting impression on your visitors.
Choosing the Right Video for Your Banner
Are you in favour of attracting visitors to your Shopify store? No matter you’re using the Standard Shopify or the amazing Shopify Plus, you’ definitely crave for more traffic! Well, finding a perfect video is going to be a hassle. The reason? There are abundant considerations while selecting a decent video. But Don’t worry, as we are going to discuss every one of them. We suggest you start by considering what your brand is all about and what message you are planning to deliver.
Also read: 14 Best Landing Page builder Apps for Shopify
Now you have to consider your aim. Are you looking for a way to Display your products? Or do you have any good backstories to tell? If not, then perhaps you might be interested in promoting a product. After you’ve got an idea about that, Now it’s time to use your brand image and target audience to create a perfect video for your banner.
When you are creating a video, it’s best to go for the highest-quality footage you can get. Next comes setting the tone and pace. You don’t want to go too fast, nor should it be too slow that visitors get bored.
When you are going for a personalized touch in your content, it’s best to think about what your target audience might like. We could suggest – A product demo, some good backstory of the brand, a short glimpse of an upcoming product, or a lifestyle shot.
But keep in mind that you must present your brand image and unique selling point. Otherwise, your Shopify banner will be incomplete without it.
Here’s another tip – Just using a video banner won’t do. there are many other techniques, for example, regretting marketing using Shopify forms. Now this, linked with HighLevel can do magic. Learn more thought THIS GUIDE (it’s entirely worth).
Accessing Shopify Admin and Theme Customization
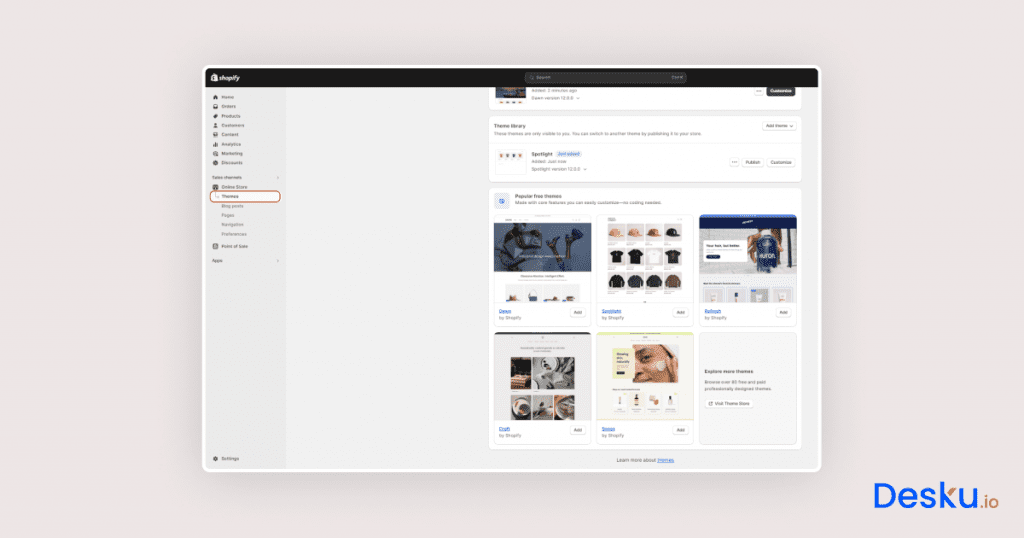
Start off by Logging into your Shopify admin panel. Now, you see Admin Dashboard? Go there, and you’ll find heaps of options to customize and manage your online shop.
After you’ve gone inside the admin panel, It’s time to go to the Online Store option. Now, you are just one click away from the Theme editor. Now press the Themes button and be ready to create a shopfront that attracts customers like a magnet.
Once you go inside your Theme editor, if any instruction window pops up, then we suggest reading it before closing off, as it might provide some important info to make your customization option easier.
After entering the Shopify Themes Editor, the settings you see are based on your current theme, so every user may have different layouts there. But, after checking out different sections, you’ll find a section for a banner or header. This is where you are going to add your unique video file to captivate visitors to your store.
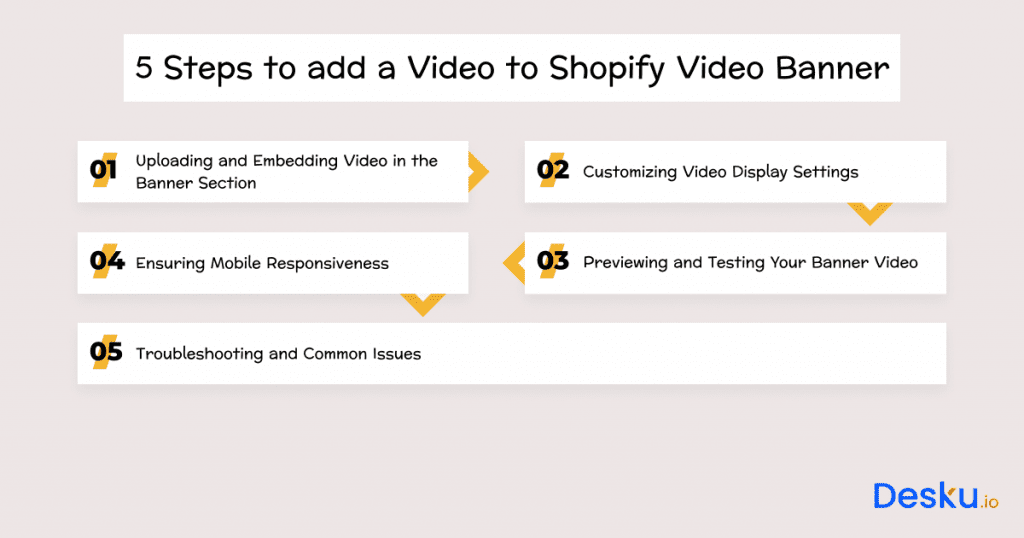
STEP 1: Upload and add Video to shopify video Banner Section
1). Enhancing Your Banner with Video Upload
Now, let’s use the power of Theme Editor to power up your store’s banner by placing your best Shopify video there. Firstly, go to your banner and header section in your specific theme editor. There, you will see a plethora of customization tools, but you have to specifically look for the option called “Add media.”
After finding this option, you can add any image or video to your banner section. Shopify’s media upload interface is straightforward to use so you won’t have any difficulties. Before you start uploading your video, make sure that your video format is supported by Shopify (If it’s not, convert it to the required format before moving to the next step).
We recommend always using high-resolution video so your visitors have an enjoyable viewing experience. Also, when you upload a video, pay attention to your video background. Now, you are free to upload your video by clicking the button or dragging it to your upload section.
2). Embedding Videos for a Seamless Integration
Now, you can either directly upload the video if your theme has this option or embed it on your banner. For embedding, you have to upload your video to a video hosting site such as YouTube, Vimeo, or any other. After uploading the video, copy the URL and paste it into the embedding section. This way, your video fits perfectly inside your banner section, enhancing your store’s overall looks.
3). Fine-tuning the Viewing Experience with Playback Settings
We are not done yet, as we still need to take the viewing experience a bit further by changing playback settings. There are options like loop, autoplay, mute, etc. So use them according to your video and overall feel you are trying to provide to your store.
You can also monitor these changes in real time from the Theme Editor when uploading or embedding your video. This helps you to play around with different options and see how it looks in real time. Now that you have completed the first and most difficult step, It’s time to make some small changes to Display settings.
STEP 2: Customizing Video Display Settings
Now, we need to make sure that your video aligns with the overall design language of your website. This step is necessary to blend your video into your website. So it doesn’t look messy to your audience.
The first step is to change the size of the video frame and position it properly inside the banner. You need to find a perfect balance so visitors aren’t overwhelmed by video and can notice and use other sections easily.
Now, Let’s do some tweaking to the playback settings. This is something you can only figure out yourself. Why? Because every brand is unique. So, figure something out that flows well with your brand.
Do you still feel something’s missing? No worries. With overlays, you can add any kind of details or graphics to it. We think a call-to-action button would be a great choice, or you can display some cool product features. Are you running any promotional offers? This is the best spot to let your visitors know about any discounts or coupon codes.
If you still think it’s a bit dull, then ramp up colours and contrast to make it more eye-catching. But make sure not to go overboard and see if it matches your brand image.
You can see how things are looking in real-time to see how your changes affect your banner. This gives you total control over your changes. So now you have finally finished setting up your banner. But what if someone comes from a mobile device and sees a colourful mess in the store? They’ll probably leave without a second thought. So, Let’s also change some settings to make your site mobile-friendly.
STEP 3: Ensuring Mobile Responsiveness
We spend most of our time on mobile phones. So your store needs to be mobile-friendly, too, right? We are not talking about appearances only but also about functionalities. So, let’s get down to it.
So, what is mobile responsiveness? Well, it’s about giving your mobile visitors a similar experience to your desktop or laptop users. So your customers can enjoy a hassle-free shopping experience.
Open up your Theme editor. As we’re going to customize mobile settings, you just need to look for Mobile Customization options. Now, we need to go inside settings for Small Screen Devices. There, you just adjust the size of your video and place it in such a way that it’s visible on all mobile devices.
STEP 4: Previewing and Testing Your Banner Video
Switch back and forth between desktop and mobile previews right within the Theme Editor. It enables you to understand whether your banner video adaptation works on different types of screens and resolutions. To ensure uniform user experience across devices, make sure you pay strict attention to details like text readability, video playback, and appearance throughout the website as a whole.
This is an important phase of testing. Ensure that you run through the functionality of your banner video across different devices and browsers before allowing it to go live.
The third step is proofreading, which involves finding out possible problems so that one presents the audience with a perfect speech free of mistakes. Click through some of your store’s pages and navigate in a similar way as a visitor would do while testing the responsiveness of the video.
With careful attention to making sure that your banner video is compatible with mobile phones and rigorous testing of it yourself, you present to the customer a readiness for comfortable and high-quality web browsing.
STEP 5: Troubleshooting and Common Issues
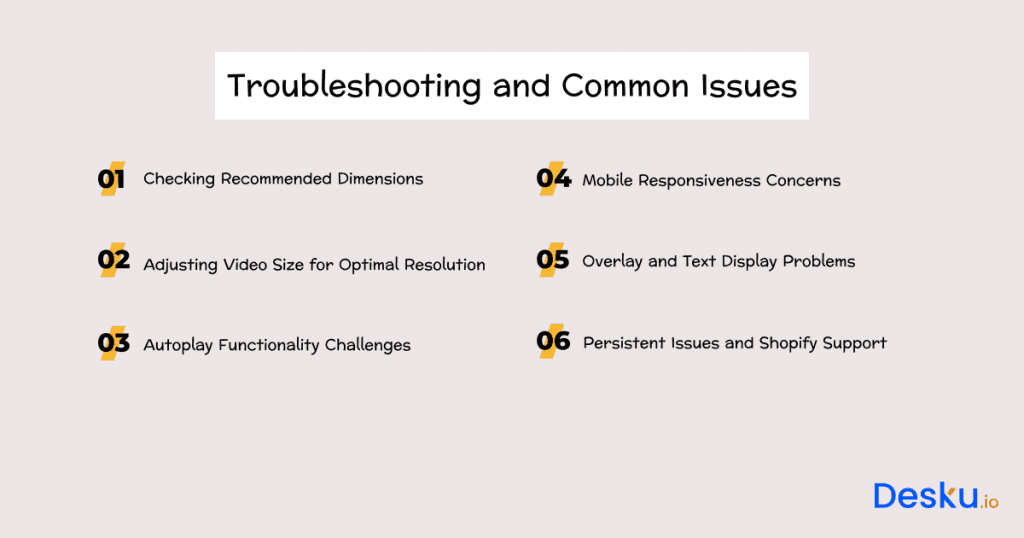
Checking Recommended Dimensions:
We suggest you go through your theme documentation and see the recommended dimensions. Then, create your video accordingly; if your video’s aspect ratio or resolution doesn’t match the recommended settings, you will see stretching or pixelation after your video is uploaded.
Some themes have different guidelines for different screen sizes, So your visitors have a consistent and pleasing experience when going through your store on different devices. Therefore, Make sure that your banner video follows those guidelines.
Adjusting Video Size for Optimal Resolution:
After you find out the recommended specific dimension, make sure that your resolution aligns with the specified one in the documents. If your resolution is higher than the allowed value, your video will be automatically compressed during uploading, which will lead to quality loss.
We suggest you change your video setting from video editing software before uploading so your video maintains the required dimensions. You also need to find the perfect quality-to-size ratio if you want to get good results after the final upload.
It’s also important that your video is in the format supported by Shopify. While Shopify supports many formats, selecting one with a good compression setting can help achieve more quality in the previous step.
Autoplay Functionality Challenges:
Theme Support for Autoplay:
Autoplay is not something that every theme supports from the get-go. So refer to your theme documents or ask the Shopify support team. Sometimes, users have to do extra configurations to turn on this feature.
Implementing Autoplay through Coding:
Sometimes, you have to add an autoplay function by adding some extra lines of code. Sometimes custom code snippets are available to enable this But do it cautiously as it can sometimes affect the performance of your website.
Mobile Responsiveness Concerns:
Reviewing Mobile Customization Settings:
Changing your theme’s appearance on mobiles and small-screen devices is very easy. Just go to the mobile customization section and change the size and position so your banner is most visible. The Mobile responsiveness feature will allow a seamless transition to different gadgets.
Ensuring Seamless Transition Between Desktop and Mobile Views:
See how your banner video appears on screens of different sizes. Carefully observe if there’s any unwanted cropping or distortions on mobiles. Fine-tune your banner so that it’s clearly visible on all modern gadgets to create a positive experience across all devices.
Overlay and Text Display Problems:
Theme Support for Text Overlays:
Make sure your theme has functionality for overlays on videos. Personalize font size, placement, and colours to match the overall design and ensure it is readable.
Adjusting Font Sizes, Colors, and Placement:
If you see any misaligned text or unclear words, try adjusting font size, colour, or placement. The key is to make it blend with your video.
Persistent Issues and Shopify Support:
Seeking Assistance from Shopify Support:
You can contact Shopify support if you face any challenges while adding video to the banner. They can give you some ideas about how to solve a particular issue.
Leveraging Expertise for Complex Technical Challenges:
For complex technical problems, ask for help from Shopify app support. Their experts will provide you with solutions for difficult technical problems when things go out of your control. They can even edit code for you in some instances.
Conclusion: Elevate Your Shopify Storefront with Dynamic Video Integration
In four minutes, we have been through some complicated steps that lead to the creation of an involved shopping process on one’s Shopify site. Each item of these steps will make up for beautiful visual storytelling for your brand.
Getting the ideal video on board, adjusting the playback settings, and making sure that it’s user-friendly on different devices are all necessary for this. Solving problems related to video quality and overlay modifications makes your banner an evocative surface, which symbolizes the substance of your trademark.
Remember, persistence is key. However, if any problems persist, Shopify’s support is always on hand to ensure your project looks slick and professional when it goes live.
In minutes, that’s all it takes for you to improve your Shopify store’s visual element and create an impression. Turn your page now and make some impressive changes in your online appearance by incorporating the most powerful tool – video within your banners section.
Paste the link to your Shopify homepage in the comment below, and we’d love to cherish how enticing your e-commerce store looks after you’ve filled up that Shopify video banner section.
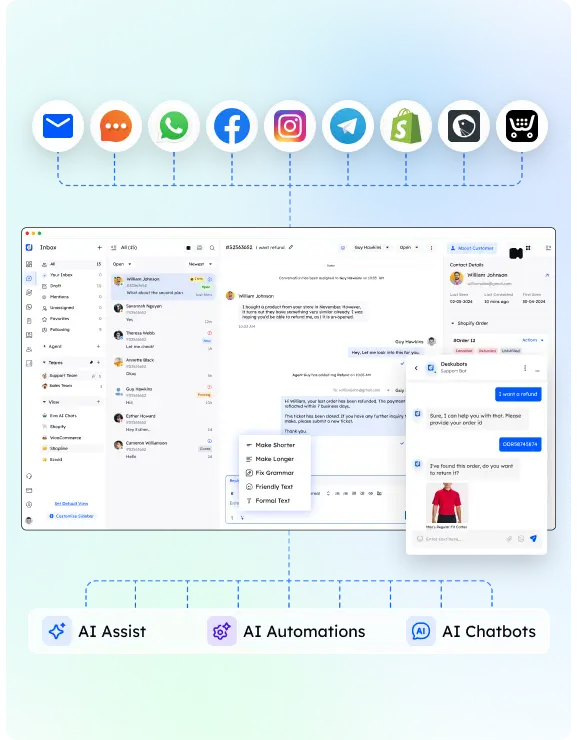
Have you ever measured the time taken for managing customer inquiries? This is where you can save a lot while running a Shopify store. It’s possible thanks to Desku’s seamless customer support integration. You get an inventory of features with Desku that can help you effortlessly respond to customer queries, automate repetitive tasks, and gain valuable insights with robust analytics.
Desku grows with your business and ensures scalable solutions for exceptional customer service. You can sign up for Desku and transform your Shopify experience with the best AI-powered features for customer support.
